
 Get going!
 Shop
Shop In Depth
 Forum
Forum Nice one!
 Tea Room
 Campsites
 Blog
Blog Owners
Donate to cyclecamp to keep us going - just £5.00 and it's very quick and easy to do!
More information about donations to cyclecamp here.
More information about donations to cyclecamp here.
Cyclecamp resource page 006
Getting a puncture is the thing most people dread about cycling. And when you’re cycle camping and miles from nowhere (and it’s raining), the pain is multiplied tenfold. But it needn’t be that bad - really! Here are 10 top tips for dealing with the cyclist’s nightmare.
1. The first tip is not to mend it - just replace the inner tube with a spare tube that you carry with you - obvious of course and easy.
2. Even if you can’t mend a puncture or even get the tyre off, always carry a spare tube (26” or 700c), a pump (with the right fitting for your valve – Presta or Schrader), two tyre levers, a repair outfit and a spanner for your wheel nuts (15 mm) as someone else may be able to help you - if you have the tools.
3. Make sure you know how to take your wheels off: some wheels have a quick release skewer (that’s best) but older and cheaper bikes will have a 15 mm nut - you will need a spanner for that so always take the right one with you. You can mend a puncture without taking a wheel off but it’s a lot more fiddly.
4. Take a pair of disposable gloves with you to keep your hands clean - they will keep your hands clean while you remove the chain from the back wheel.
5. Practise it all at home - get to know how it all works. It’s much less daunting than you think but it’s still better at home than first time in the dark!

Take a pair of disposable gloves with you to keep your hands clean

6. The main problem is getting the tyre off so here’s a tip from the experts: push the wire bead of the tyre into the well of the rim on both sides of the tyre - it will make it much easier. You can probably do it with your bare hands!
7. Mend your puncture as soon as possible so that you are ready with a spare tube in case you get another puncture. Inner tubes are so cheap and punctures so rare that you could throw it away but that would be wasteful!
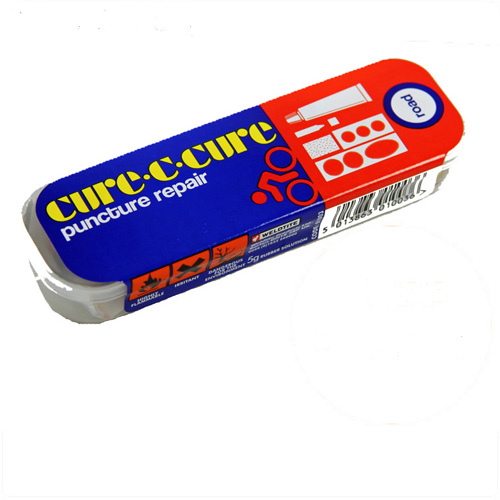
8. Know your repair outfit: the French
chalk in the puncture repair outfit stops glue sticking the inner to the tyre! The yellow crayon helps you mark the puncture. Let the glue set for a minute or two then hold the patch on with a peg for a half an hour (even overnight): that will make sure it really is stuck on.
9. Get puncture proof tyres (they are a little heavier and more expensive).
10. Always lightly inflate the tyre then push the tyre slightly back from the rim all the way round - this will stop the inner tube being pinched between the rim and the tyre and giving you another puncture!
And if all else fails you can get roadside rescue for bicycles - check out the Environmental Transport Association!
cyclecamp
the joined up cyclecamping network